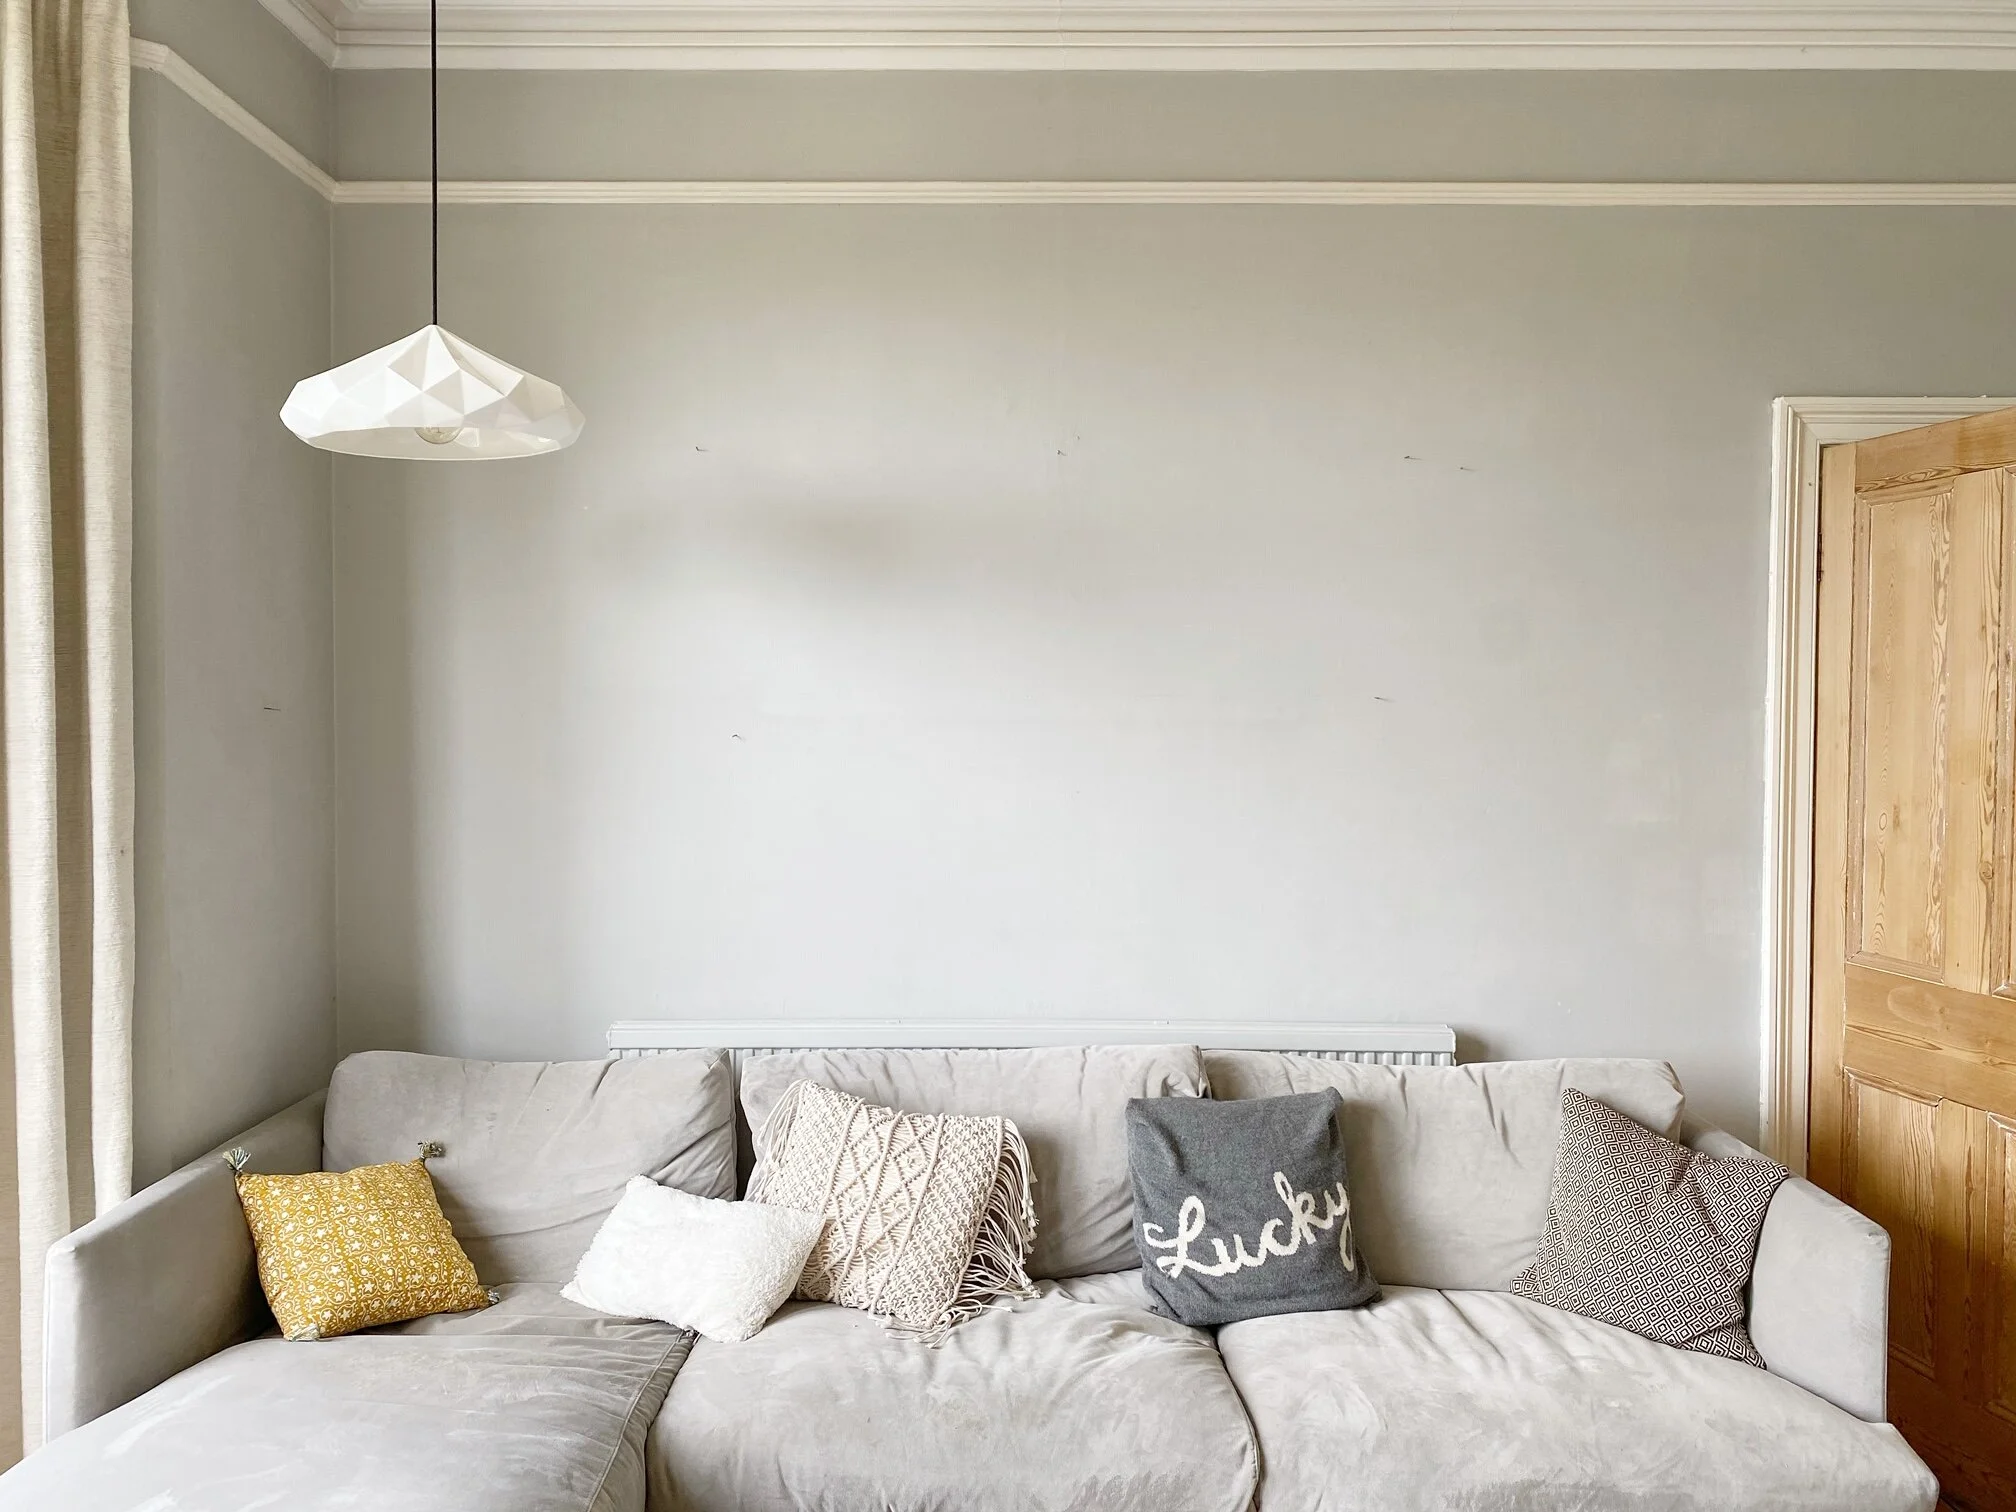
Do you love gallery walls but are not sure how to do them? Do you lack confidence in putting them together wihout it looking like like a mish mash. Using just Microsoft PowerPoint this is a super easy but useful way of trying out art on your walls before committing to a purchase or banging a nail in the wall. There are other ways of doing it but this is how to do it using just a smartphone, a laptop and Microsoft PowerPoint.
Step One.
Empty the wall of all other art and take a photograph of your wall. Make sure the photgraph is straight on - no angles or sloping lines. Take it as a landscape photograph and include the accent colours you use in that room, i.e, the cushions, throws, wallpaper you have in that room.
My living room.
Step Two.
Save your photograph onto your PC in the way you normally would. Then open PowerPoint and insert your photograph as an image into a new PowerPoint presentation. Stretch it out and enlarge if to fit the PowerPoint page. Keep this page open.
Paste the image into Powerpoint.
Step Three.
Have a lovely long trawl through all of your favourite online art stores. My favourites include:
The Poster Club - a Copenhagen based online store offering high quality posters, prints, frames and original art.
Society 6 - a US based online store offering posters, prints, frames and original art by little known artists. (Be careful of import tax.)
One off to 25. - A UK based online gallery of beautifully curated original and limited edition art.
The Medium Room - A UK based online gallery of vintage art.
Homeplace - A UK based store stocking a beautifully curated mix of new and vintage prints and art.
Rockett St George - A UK based store selling an eclectic mix of prints and posters.
Tate - Our favourite gallery, The Tata Shop sells prints of many of the images in it’s collection.
Save the pictures that you like by either:
On your phone, right clicking on the image and ‘Add to Photos’ thus saving it to your camera roll (if it gives you the option).
I clicked in this image on Rockett St George and saved it into my camera roll.
2. If you don’ t have the option of saving the image to your camera roll then use the Snipping Tool app on your laptop to virtually cut the image out and save it to a gallery wall directory. Snip them including a the frame if possible.
Microsoft Snipping Tool - the most underrated tool ever!
Step 4
Save all of your images into a new directory. At this point it would also be a good idea to photograph and save images of art you already have and would like to use in a gallery wall.
Step 5
Click ‘Insert’ ‘Picture’ and find one of your pieces of art. Click on it and it will appear in your open PowerPoint slide of your empty wall. You can move it around with your mouse and resize it as much as you want.
Image inserted into my Powerpoint slide.
Step 6
Keep inserting images from your directory of saved images. Move them around. See what looks best together. If pieces don’t look good together, try another combination. Think about adding a piece of simple graphic art or typograpy in between two more detailed or colourful images - it rests the eye and let’s you appreciate the art more when they’re punctuated by something simple.
Step 7.
If you want to get technical you can re-size the images roughly to scale, depending on what sizes the art comes in. You can also add frames of any colour and thickness by using the ‘Format’ ‘Picture Styles’ and ‘Picture Border’ facilities in PowerPoint.
That’s it! It’s so easy as you can see and once you get the hang of it you can use this same idea to look at lighting, cushion or coffee tables in situ before buying.
Let me know how you get on, tag #fantasygallerywall on Instagram and I will Story them


